HDR effect is so much popular in design and photography industry. Designers love to give HDR touch to their photographs. In this post I am going to create an amazing HDR effect. This HDR effect is really easy to create and you can create it by following some simple steps. So lets start with the tutorial.
Final Image
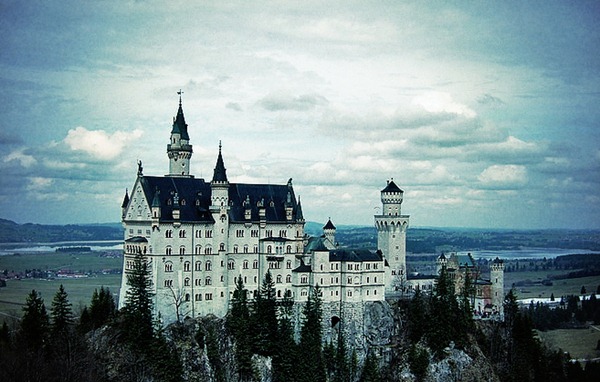
Source Image

HDR Tutorial
Open The Image in Photoshop. I am using the stock photo of a Castle from Deviantart. You can download this image from here.
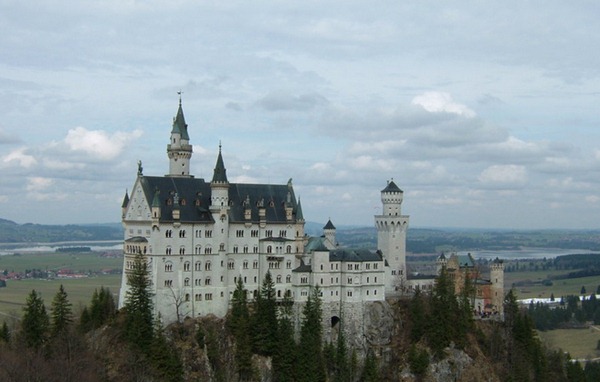
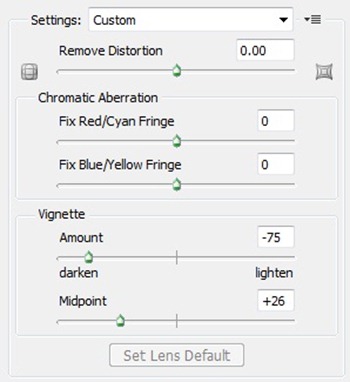
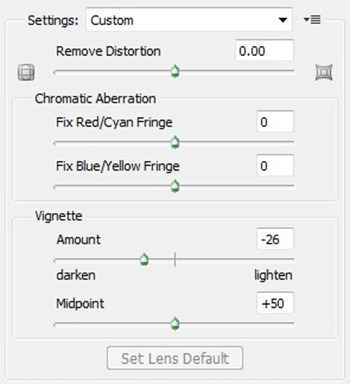
First of all create the duplicate of background layer so that if you done anything wrong your original image will remain the same as it was before this effect. Now create a new layer above the duplicate layer. Now we will add some lens correction to this layer to change the lighting of our image. Use the following settings for the lens correction.
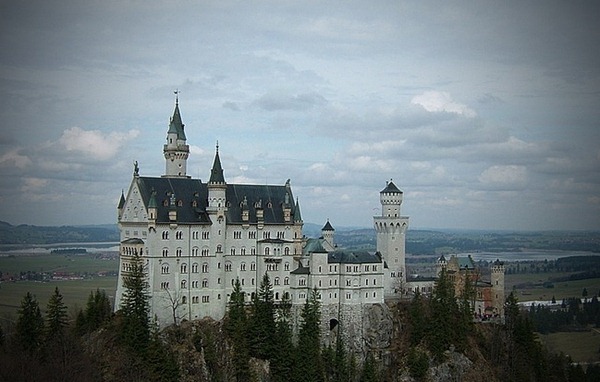
Your image will look like this after the lens correction.
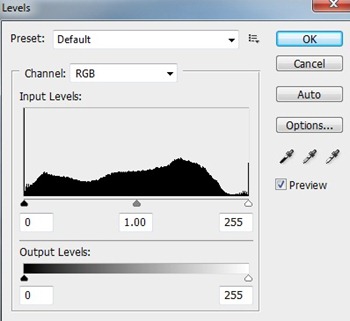
Now make a new adjustment layers with change in levels. Please follow the following settings for the levels adjustment layer.
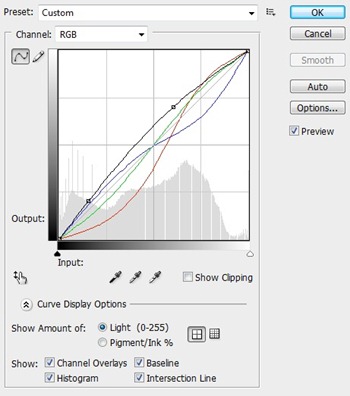
Now create a new curves adjustment layer and change it according to your image. This is the screenshot of settings I used for this image.
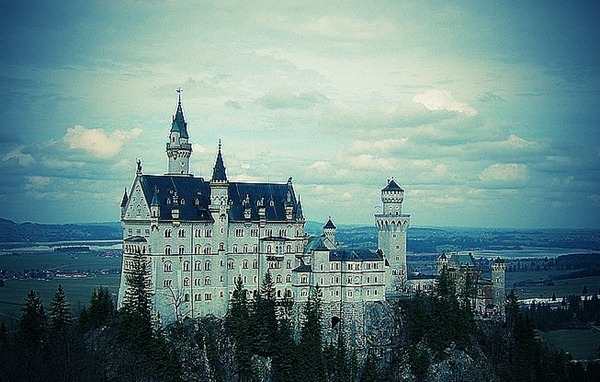
Your image should look like this after adjusting curves layer.
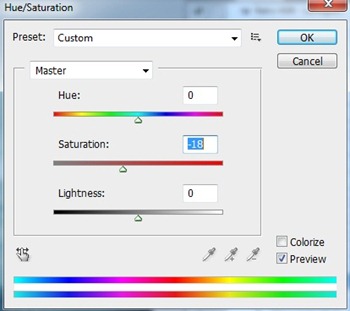
Now create a Hue/Saturation Adjustment Layer and change the settings as screenshot.
Now create a Brightness and Contrast Adjustment layer with following settings.
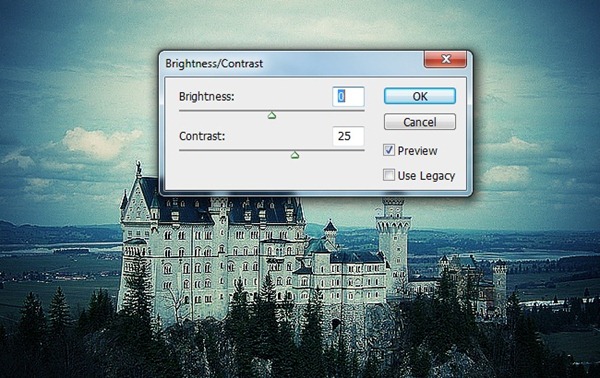
Now make a new layer and Image > Apply Image and change the following values.
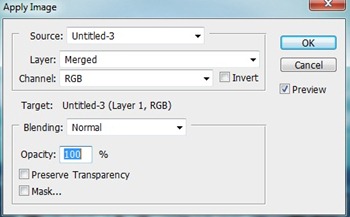
Now open Shadow and Highlight Panel and fill the following settings.
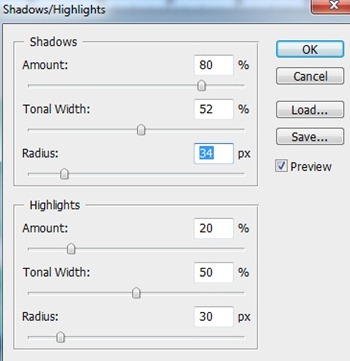
This is the image we have after using shadow and highlight tool.
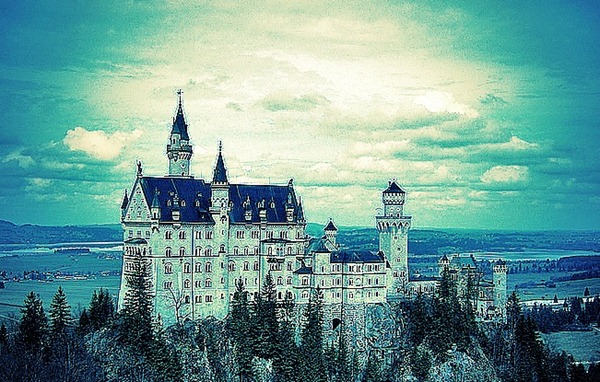
Now we will again set the lens correction for this image with following settings.
Now create a new layer and fill it with 50% Grey and now set the blending mode to overlay. Now open the brightness and contrast panel to set the brightness and contrast according to your need and your final image is ready.


