This tutorial is about giving the sepia look effect to your photographs in Adobe Photoshop. There are various ways to give this effect and I hope I am telling you about the technique you didn’t know before. Lets start the tutorial.
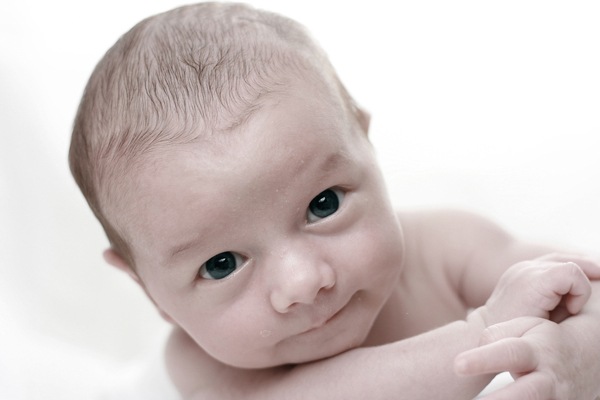
Source Image

Final Image

Step 1
First open your image in Photoshop. I am using the stock image of Little Mermaid Ariel from Deviantart. Now make the new adjustment layer with following settings.

Now your photograph will look something like this.

Now flattern the image and open the color balance box and fill it with the following settings.

Now create a duplicate image of the background image and make it blur by clicking on Filters> Blur > Gaussian Blur. Use the radius 5.5.

Now set the layer style as shown in screenshot below.

Now Flattern the image and your sepia effect look is ready.

Loveish Kalsi
Loveish Kalsi is a freelance Web and Graphic Designer from India. He is the owner of famous design blog Creativedesignmagazine.com


Pingback: 40 Fresh And Best Photoshop Tutorials Of April 2011 | stylishwebdesigner
Really a great work and a lovely model if you ask me. I like sephia pictures.
This is simple & very coool. Thanks for the post
Pingback: 50???????????????Photoshop??!! « ???
Pingback: 100 Best Photoshop Tutorials Of 2011 | stylishwebdesigner
Pingback: 100 Best Photoshop Tutorials Of 2011 | Free 9 Spot
I do like a clear set of instructions, I used the sepia effect to make some funky social media icons. I look forward to keeping up with your emails too..
Pingback: Tutorials: Best Collections Photoshop Tutorials of 2011 « facedesign
Pingback: 200 Excellent Photoshop Tutorials To Improve Your Design Skills | stylishwebdesigner
Pingback: Mermaid Photo | morganshaffer.com
Need to talk about the front to be in sepia and then turn into a store…in color. Please call…